> For the complete documentation index, see [llms.txt](https://docs.overdare.com/llms.txt). Markdown versions of documentation pages are available by appending `.md` to page URLs; this page is available as [Markdown](https://docs.overdare.com/korean/manual/studio-manual/object/tool.md).
# Tool
## 개요
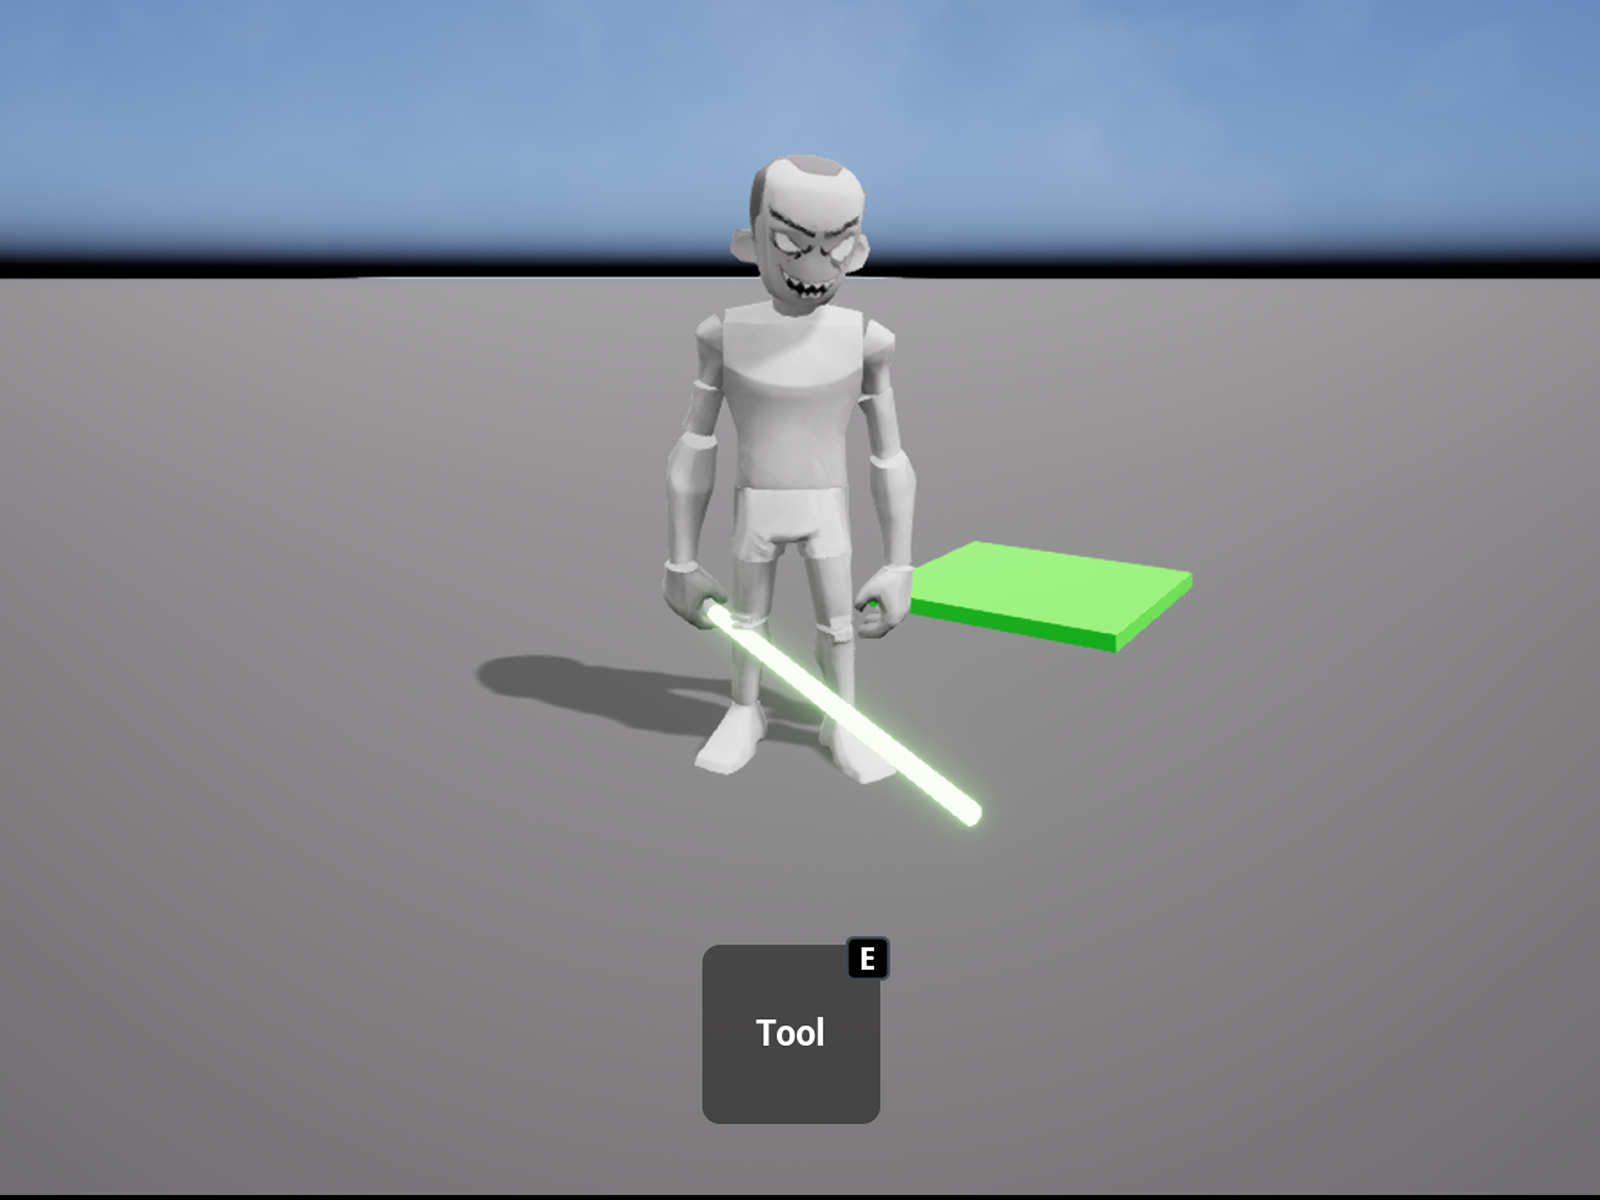
`Tool`은 캐릭터가 직접 장착하여 사용할 수 있도록 설계된 `Instance`입니다. 이를 활용하면 캐릭터는 무기나 장비를 손에 들거나, 포션과 같은 아이템의 사용을 구현할 수 있습니다. `Tool`은 장착과 해제의 과정을 통해 캐릭터와 상호작용하며, 다양한 게임플레이 시나리오에서 중요한 역할을 수행합니다.
## Tool의 동작 원리
* `Tool`은 캐릭터 모델과 직접 상호작용하여 장착과 해제를 구현합니다.
* 캐릭터의 **오른손**에 장착되며, 이를 위해 반드시 **Handle** Part를 생성해야 합니다.
* `Handle`이 없는 Tool을 만들 수는 있지만, 스크립트를 통해서만 장착시킬 수 있습니다.
* `Handle`을 기준으로 Tool을 구성하는 MeshPart 및 다른 Part의적절한 위치 조정을 할 수 있습니다.
## Tool의 속성
아래는 주요 속성 및 관련 설명입니다:
| 속성 | 설명 |
| ------------------------ | ------------------------------------------------------------------------------------------------------------------- |
| **TextureId** | Backpack GUI에서 보여지는 Tool의 이미지를 지정합니다. |
| **CanBeDropped** | `Tool`의 Parent를 Workspace로 변경 하였을 때, 자동으로 플레이어 앞으로 `Tool`을 드롭여부를 결정합니다. |
| **Enabled** | Enabled 속성은 Tool을 플레이어가 사용할 수 있는지 여부를 설정하며, false로 설정하면 Tool의 활성화/비활성화 메서드와 관련된 이벤트가 차단되어 플레이어가 Tool을 사용할 수 없게 됩니다. |
| **Grip** | 현재 지원되지 않습니다. |
| **ManualActivationOnly** | ManualActivationOnly 속성은 Tool:Activate()를 스크립트에서 명시적으로 호출해야만 Tool.Activated 이벤트가 발생하도록 제어할지 여부를 결정합니다. |
## Tool의 사용 방법
### 1. Tool 인스턴스 생성
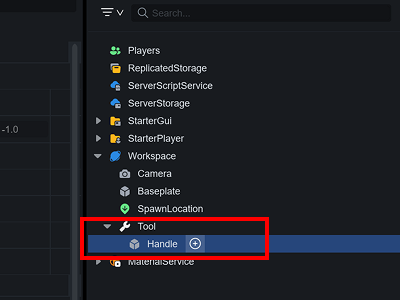
1. **레벨 브라우저(Workspace)**에서 `Tool` 인스턴스를 생성합니다.
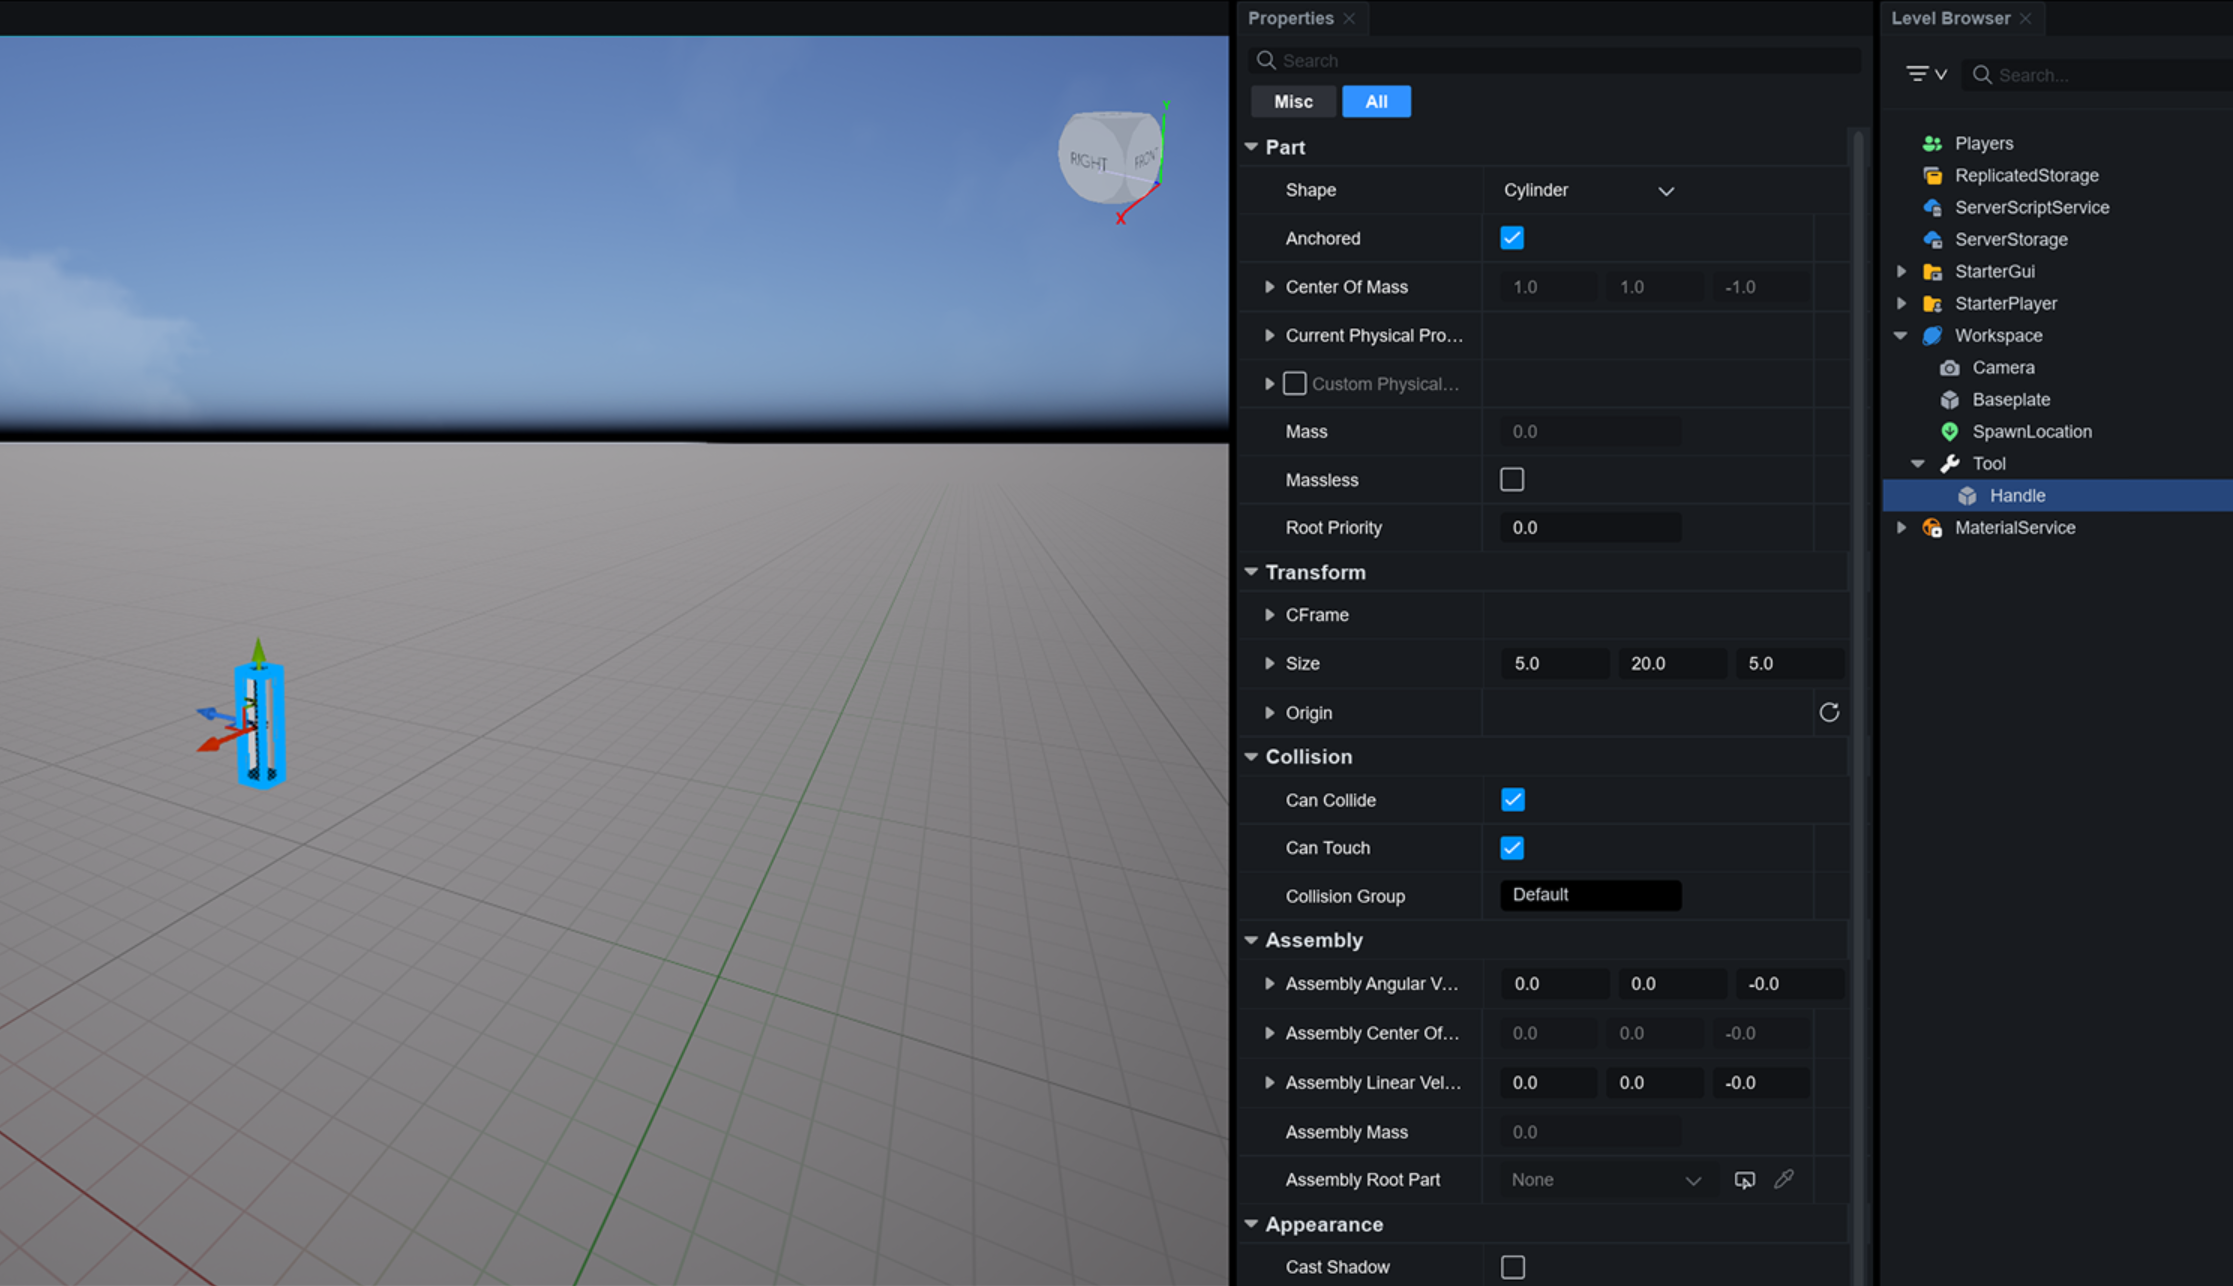
2. `Tool` 하위에 `Part`를 생성 후, 해당 이름을 `Handle`로 수정합니다.
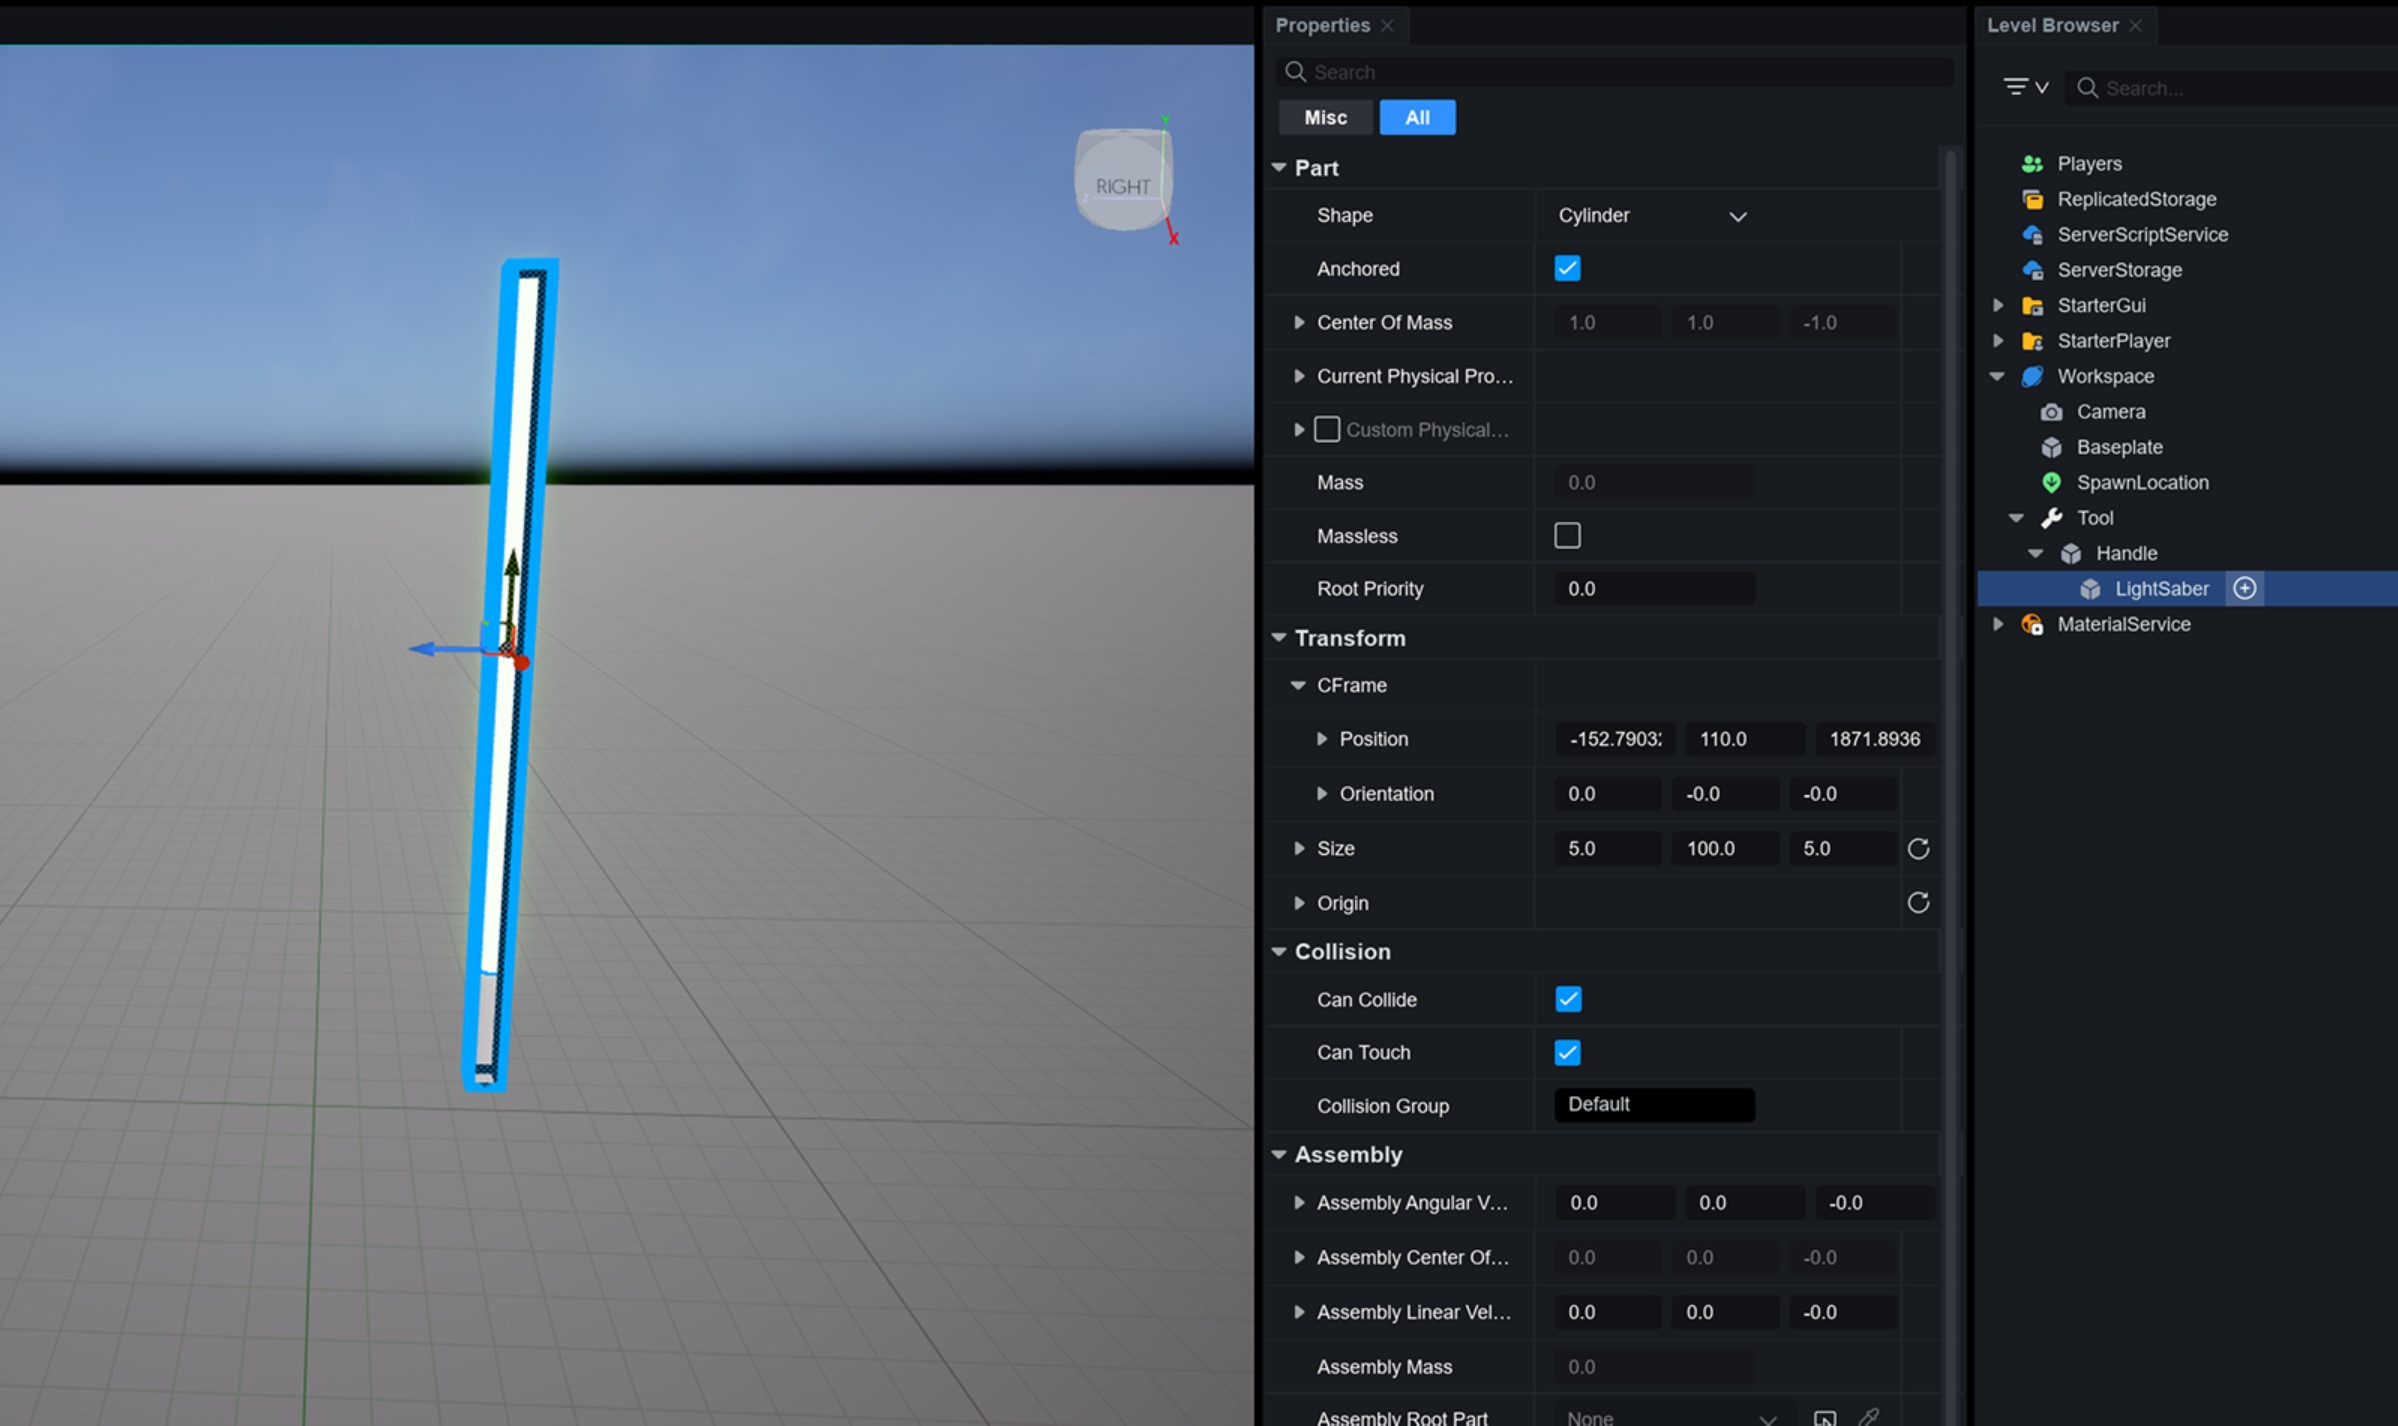
3. 손에 장착될 도구인 `MeshPart` 또는 `Part`를 `Handle` 하위에 배치하고, 도구의 손잡이 위치를 기준으로 `CFrame`을 조정하여 올바른 장착 위치를 설정합니다.
### 2. Tool 장착 테스트
1. 게임을 실행하고 캐릭터를 조작합니다.
2. `Workspace`에 배치한 `Tool`을 캐릭터가 **Touch(접촉)** 하도록 만듭니다.
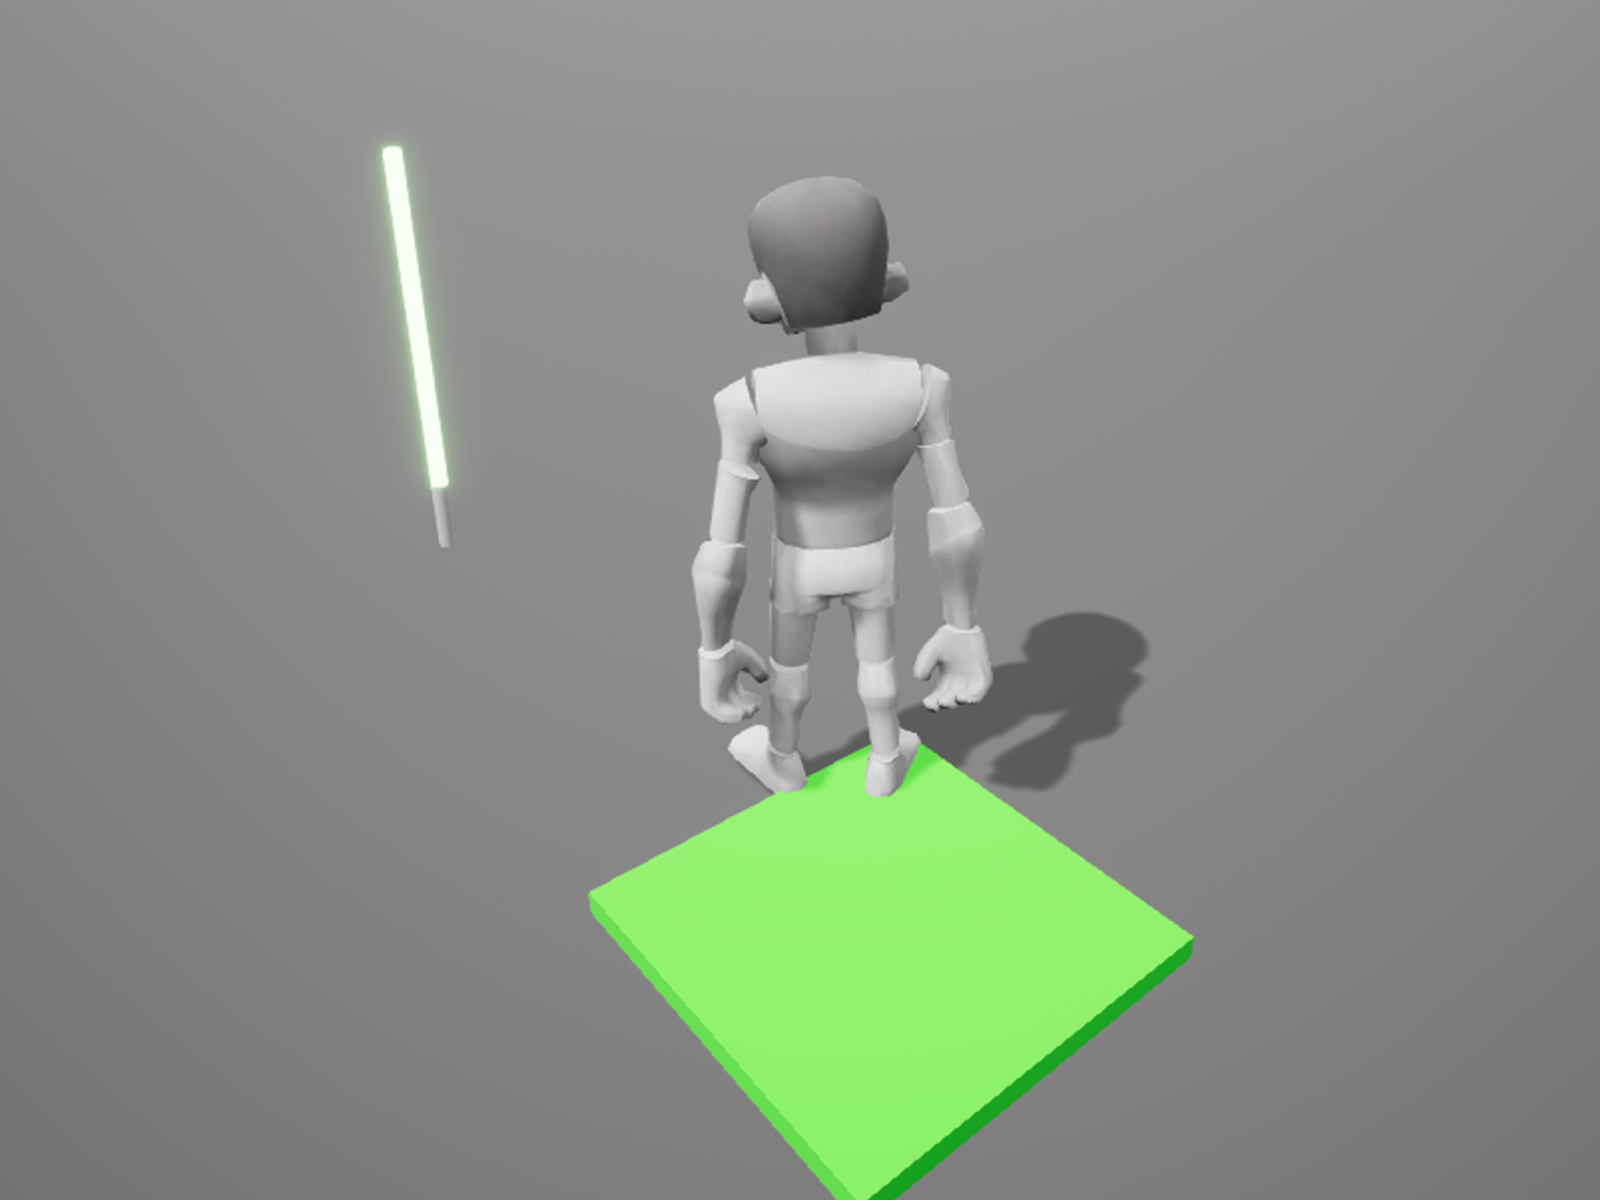
3. `Handle`에 접촉하면 캐릭터가 해당 `Tool`을 오른손에 들게 됩니다.
* 정상적인 위치에 장착되지 않을 경우, `Handle` 하위의 `MeshPart` 또는 `Part`의 위치와 방향을 수정하여 재조정합니다.
## 스크립트를 통한 Tool 장착 및 해제
### 스크립트를 사용해야 하는 경우
어떤 트리거(Trigger)나 조건을 만족할 때만 `Tool`을 장착해야 하는 상황이 있을 수 있습니다. 이 경우, 스크립트를 통해 프로그래밍적으로 `Tool`을 장착하거나 해제할 수 있습니다.
### Tool 장착을 위한 방법
스크립트를 활용하면 아래 두 가지 방식으로 `Tool`을 캐릭터에게 장착할 수 있습니다:
1. **Humanoid:EquipTool** 메서드를 호출
* 다음 메서드를 통해 캐릭터가 직접 `Tool`을 장착하도록 구현할 수 있습니다.
* 예제 코드:
```lua
local function Equip(player)
local character = player.Character
local humanoid = character:FindFirstChild("Humanoid")
local myTool = game.Workspace:FindFirstChild("MyTool")
if humanoid and myTool then
humanoid:EquipTool(myTool)
end
end
```
2. **Tool.Parent 변경**
* `Tool`의 부모 오브젝트를 직접 변경하여 장착하도록 설정할 수 있습니다.
* 예제 코드:
```lua
local function Equip(player)
local myTool = game.Workspace:FindFirstChild("MyTool")
local character = player.Character
if character and myTool then
myTool.Parent = Character
end
end
```
### Tool 해제
`Tool`을 해제하는 방법은 크게 두 가지입니다:
1. **기본 해제**: 캐릭터가 `Tool` 해제 후 `Backpack`에 다시 보관됩니다.
2. **삭제(Destroy)**: 필요 없는 `Tool` 인스턴스를 삭제할 수도 있습니다.
* 예제 코드:
```lua
local myTool = game.Workspace:FindFirstChild("MyTool")
if myTool then
myTool:Destroy()
end
```
3. **내려놓기(Drop)** :CanBeDropped가 True인 경우 Tool의 Parent를 Workspace로 지정하여 플레이어 앞에 내려놓을 수 있습니다.
* 예제 코드:
```lua
local myTool = game.Workspace:FindFirstChild("MyTool")
if myTool then
myTool.Parent = game.Workspace
end
```
## 이벤트를 활용한 Tool 상호작용 응용
`Tool`에는 장착 시 호출되는 다양한 **이벤트**가 존재합니다. 이를 활용하면 캐릭터가 특정 `Tool`을 장착할 때 특정한 **시각 효과(VFX)**나 동작을 추가적으로 구현할 수 있습니다.
1. **ParticleEmitter 생성**: `Handle`또는 파티클 효과가 나타나야 하는 위지에 `ParticleEmitter`를 추가합니다.
2. **ParticleEmitter 속성 편집** : 패티클의 크기, 방향, 파티클 개수 등 파티클 관련 설정을 조정합니다.
3. **ParticleEmitter Enabled 비활성화** : 완성된 `ParticleEmitter` Enabled를 false로 변경하여 장착 전에는 파티클 효과가 발생하지 않도록 합니다.
4. **스크립트 작성**: 무기가 장착되었을 때에만 `ParticleEmitter` 활성화 되도록 스크립트를 작성합니다.
```lua
local Tool = script.Parent
local Emitter = Tool.Handle.LightSaber.ParticleEmitter
Tool.Equipped:Connect(function()
if Emitter then
Emitter.Enabled = true
end
end)
Tool.Unequipped:Connect(function()
if Emitter then
Emitter.Enabled = false
end
end)
```
{% embed url="" %}
.png?alt=media)
.png?alt=media)
.png?alt=media)